Opus Art Supplies
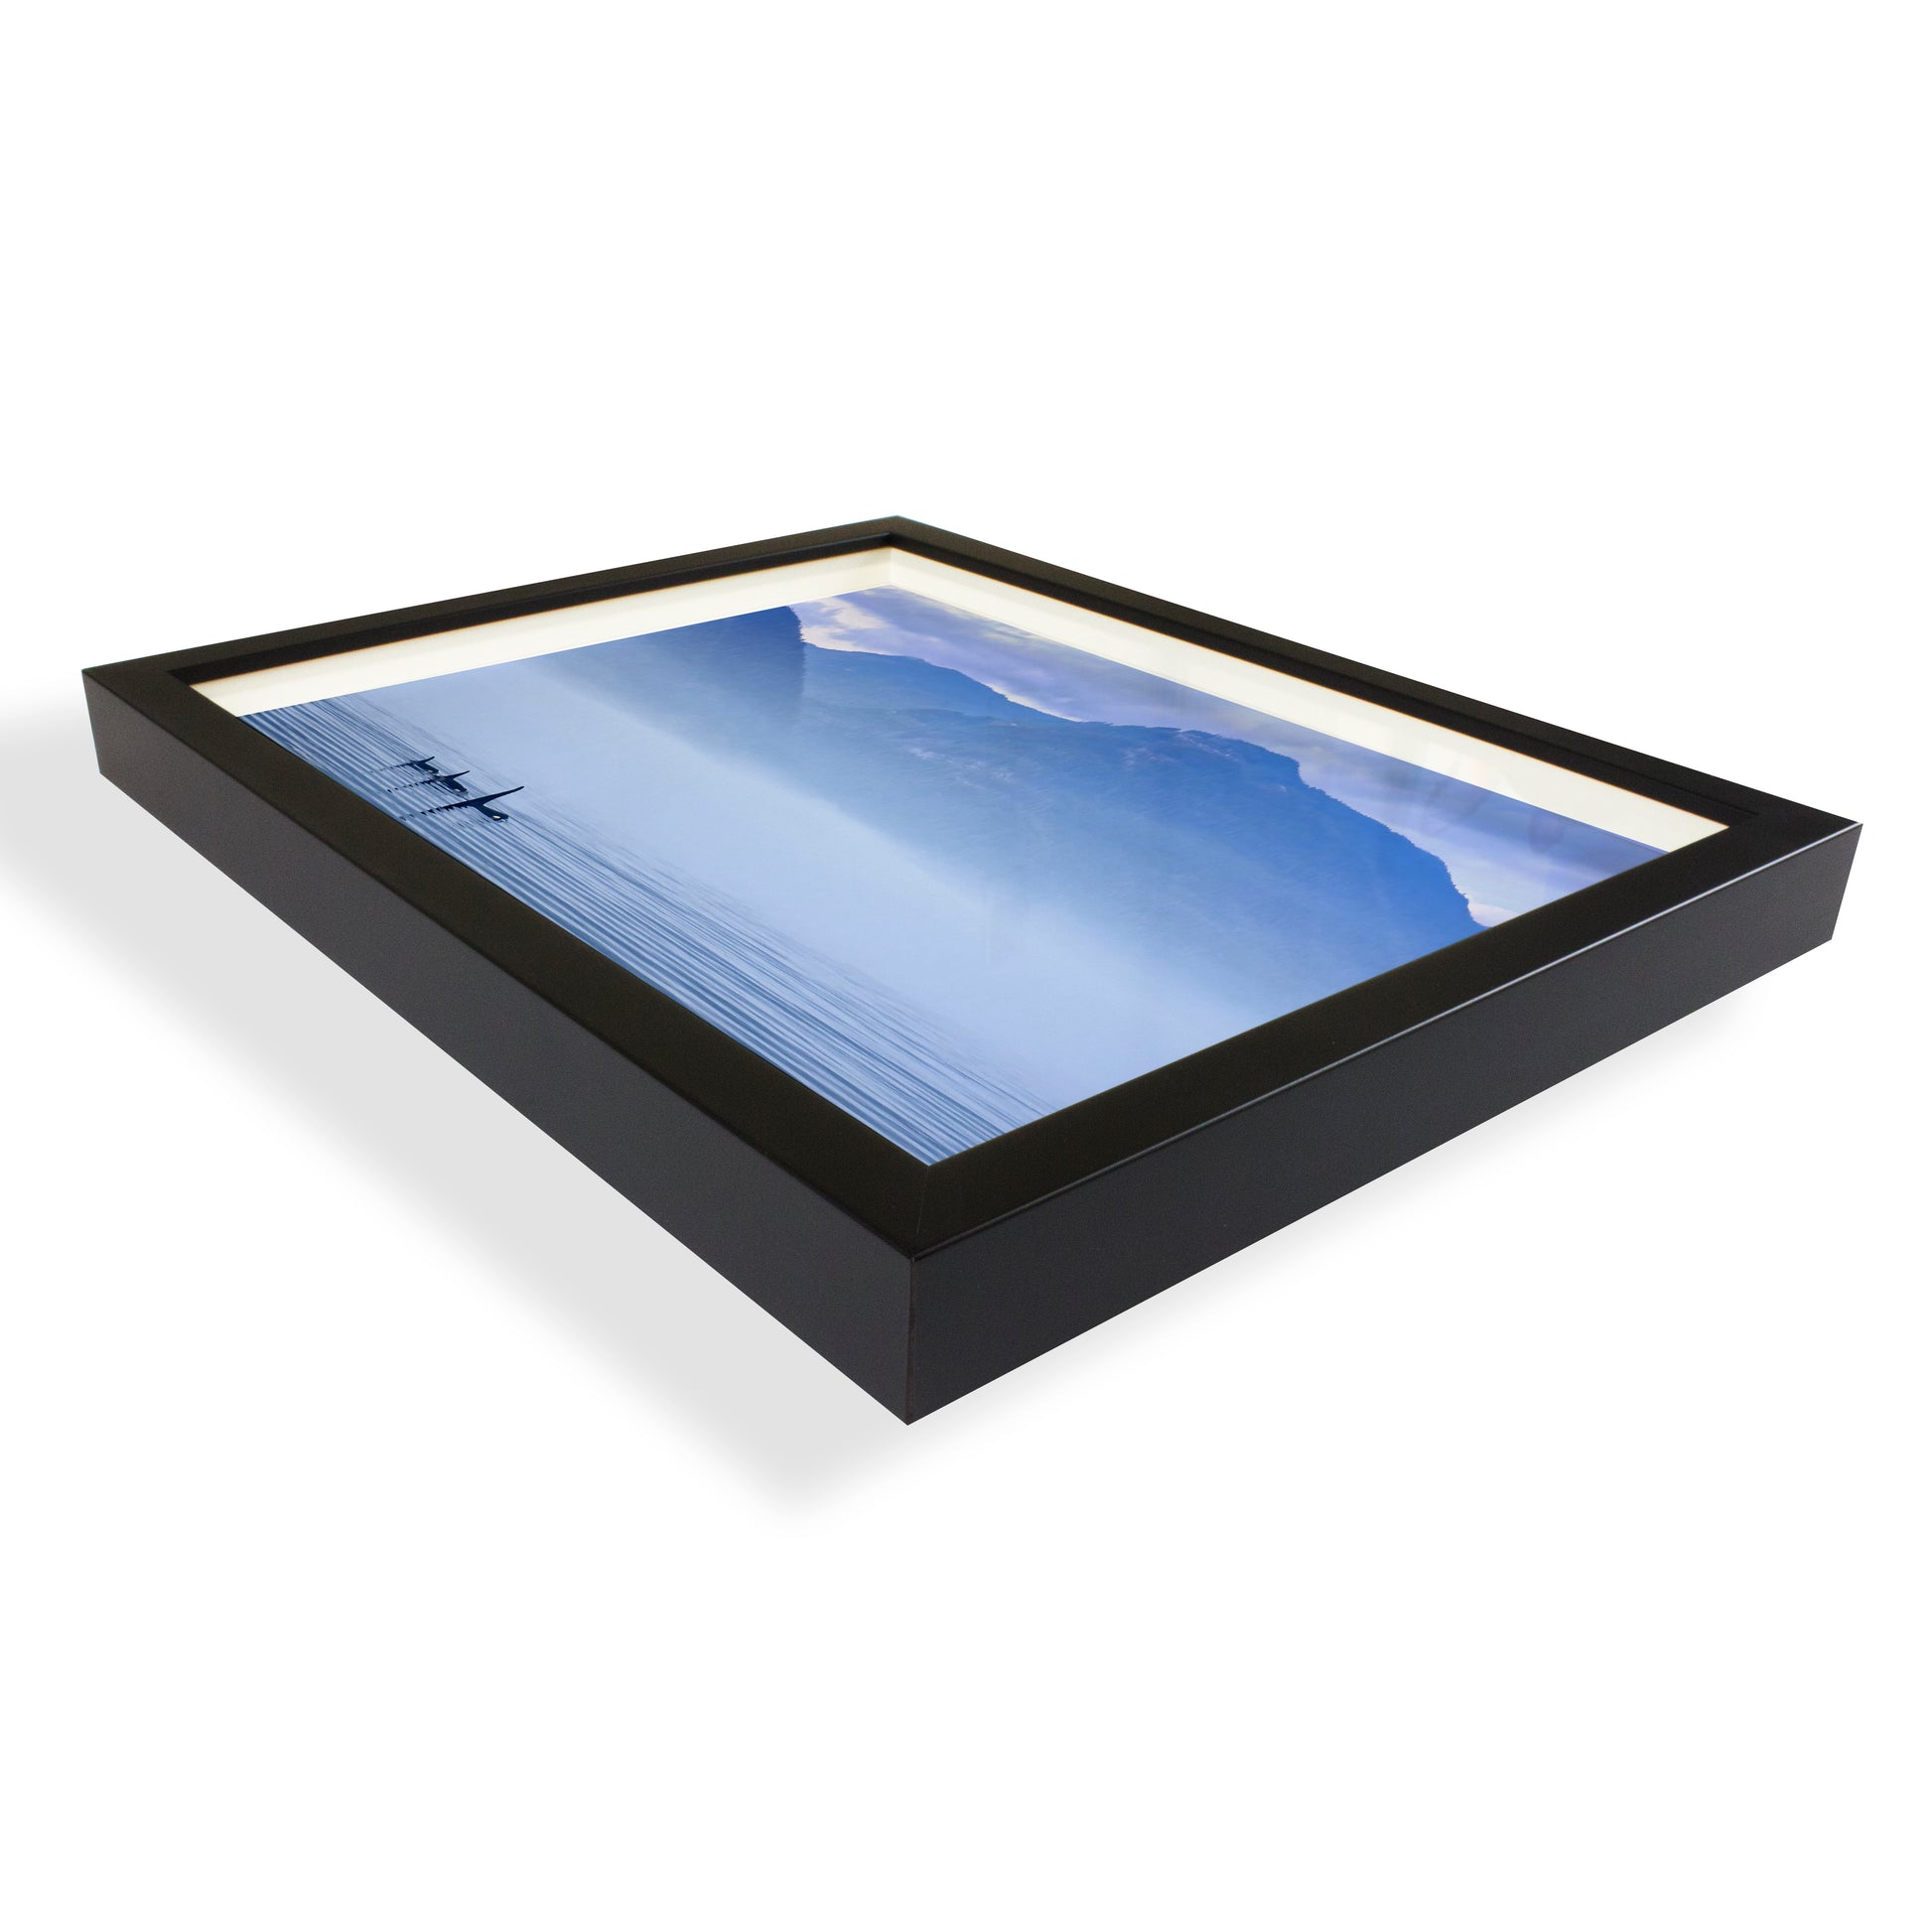
Opus Luna Shadow Frames - Black
Opus Luna Shadow Frames - Black
In stock
Couldn't load pickup availability
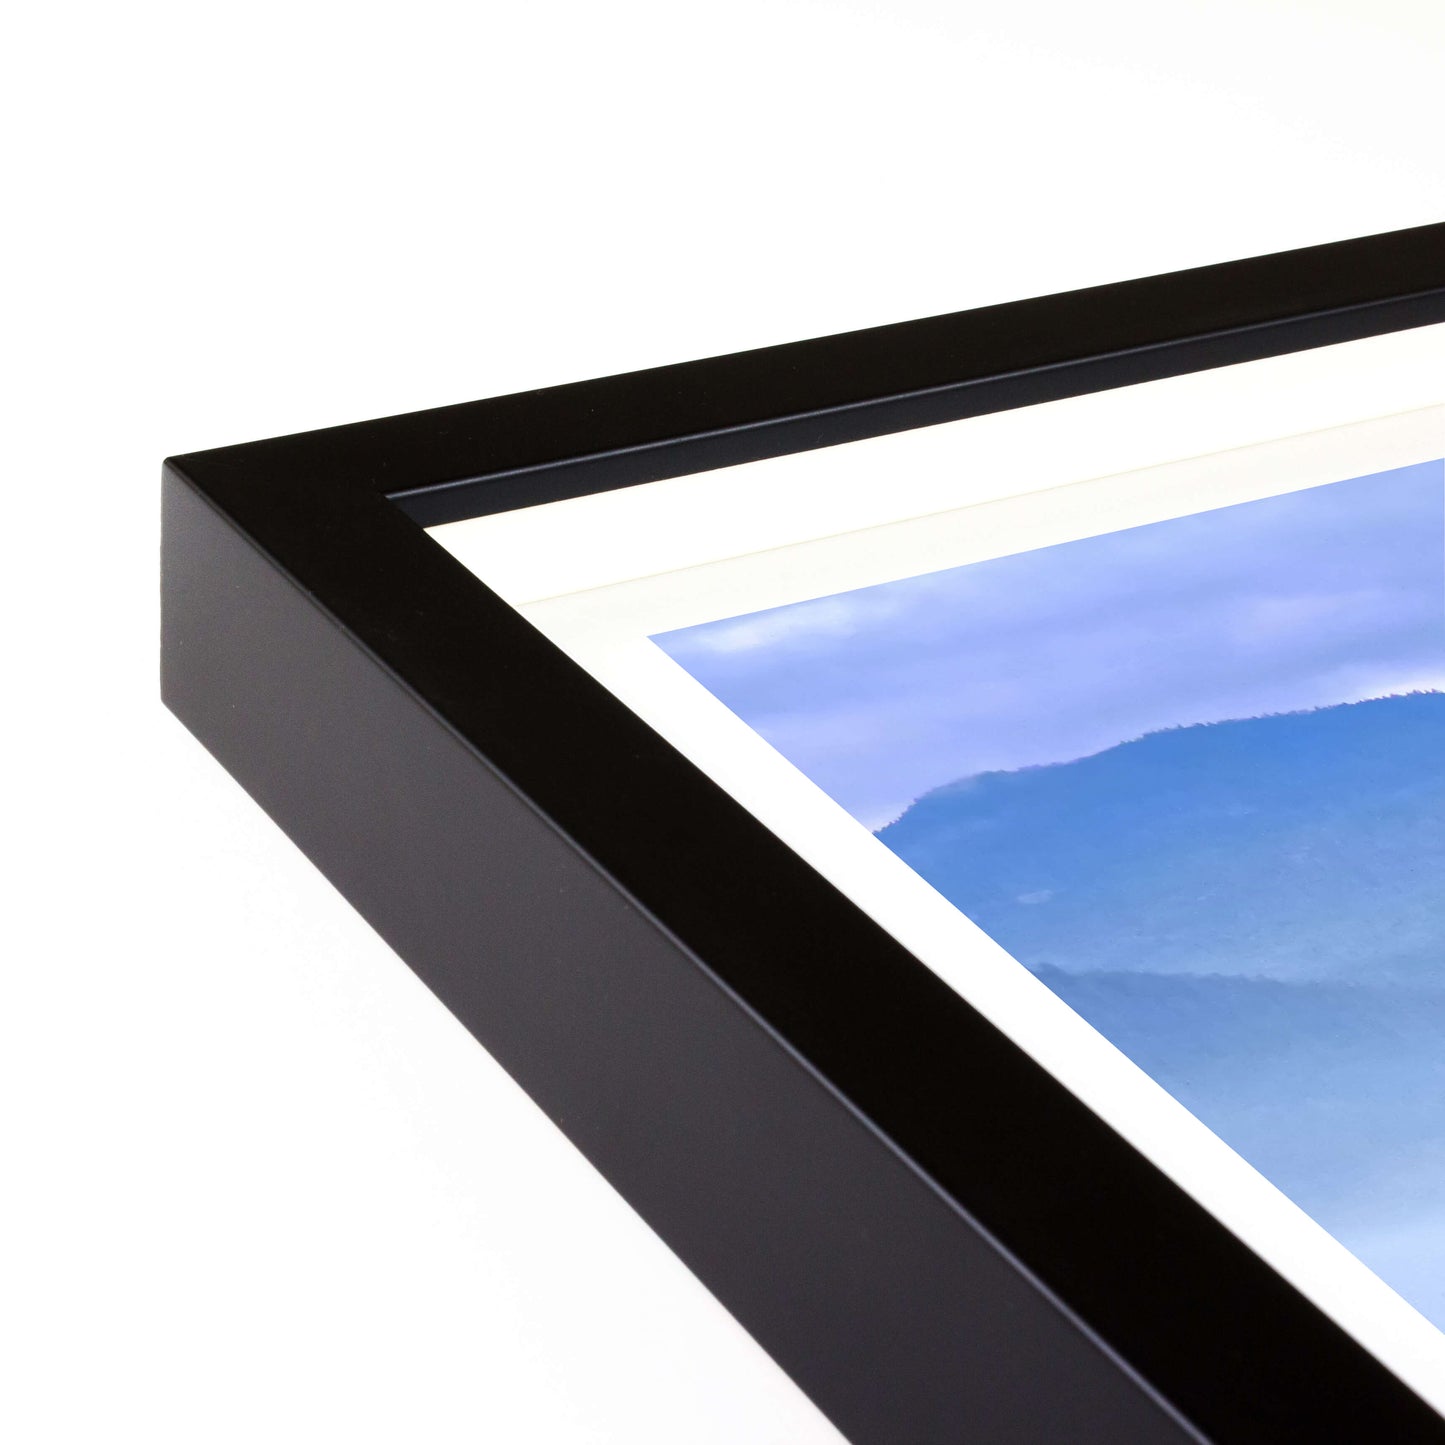
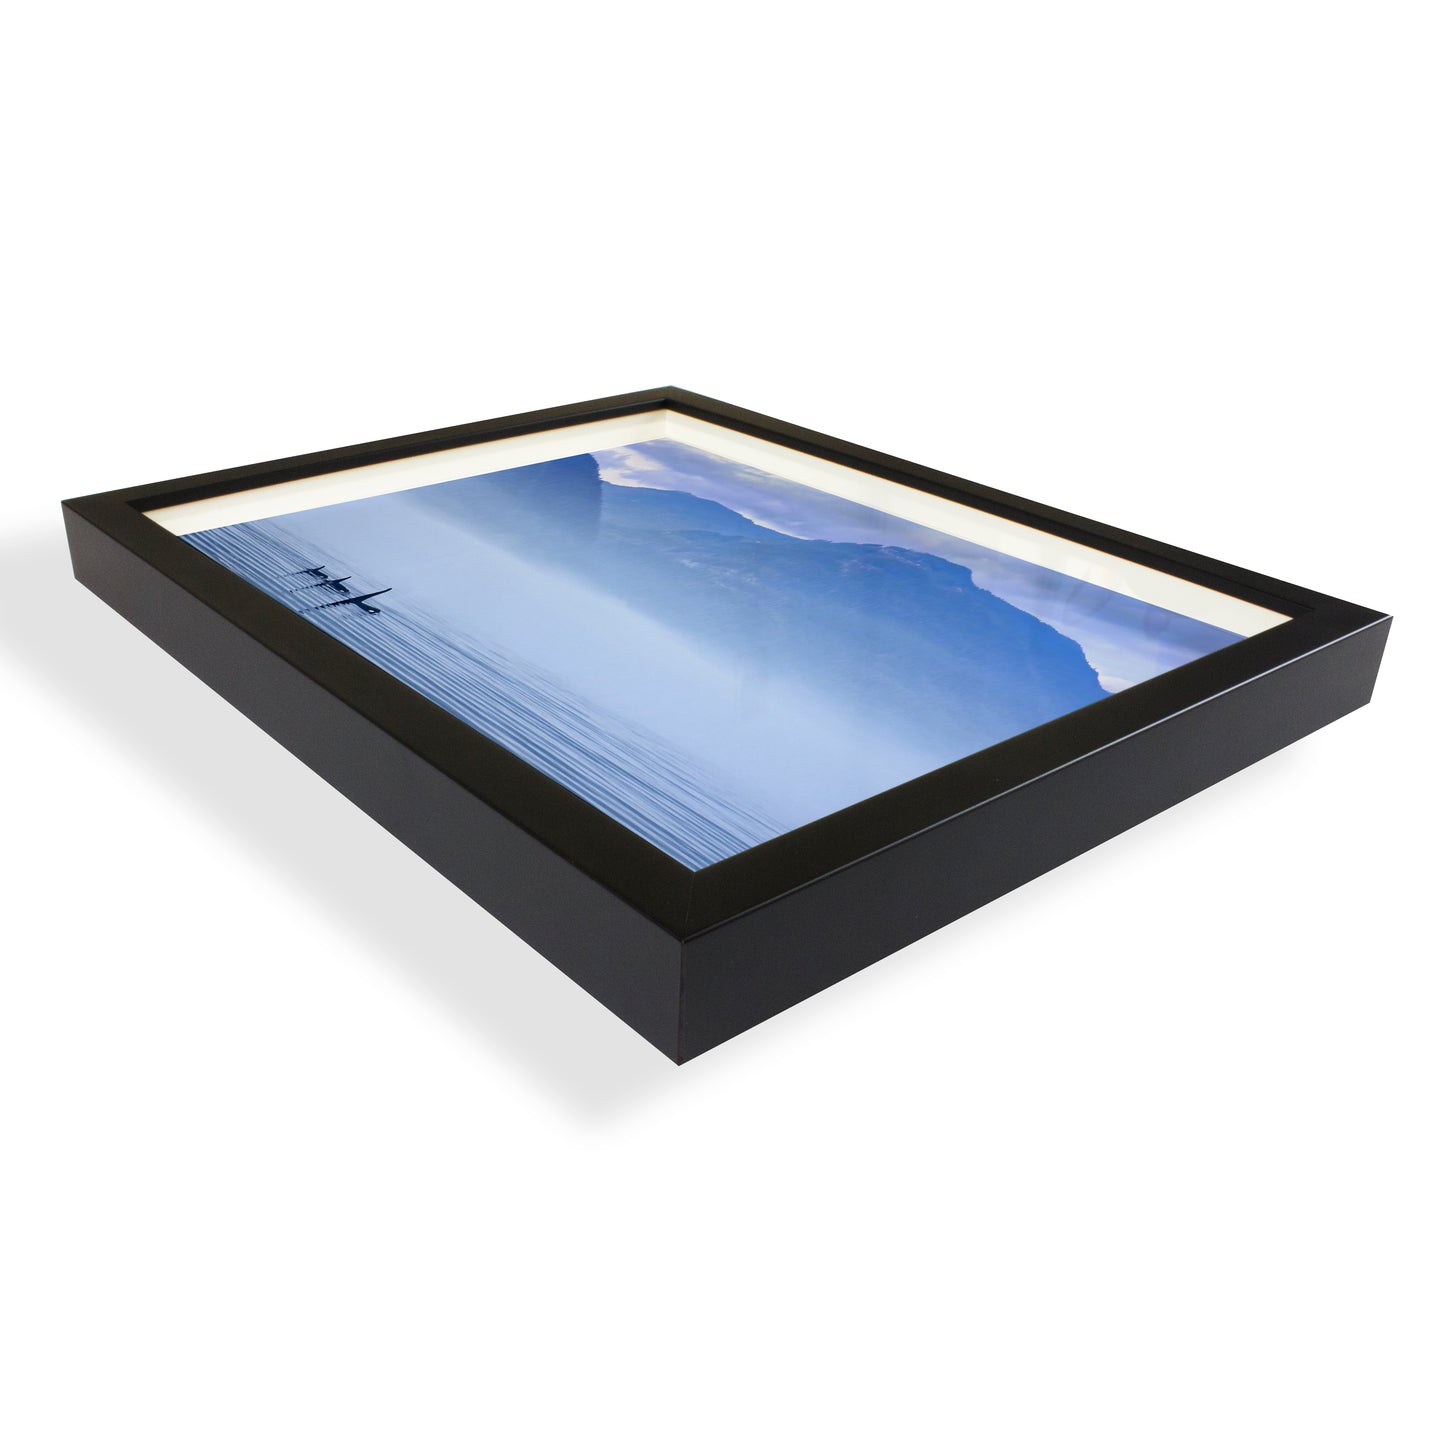
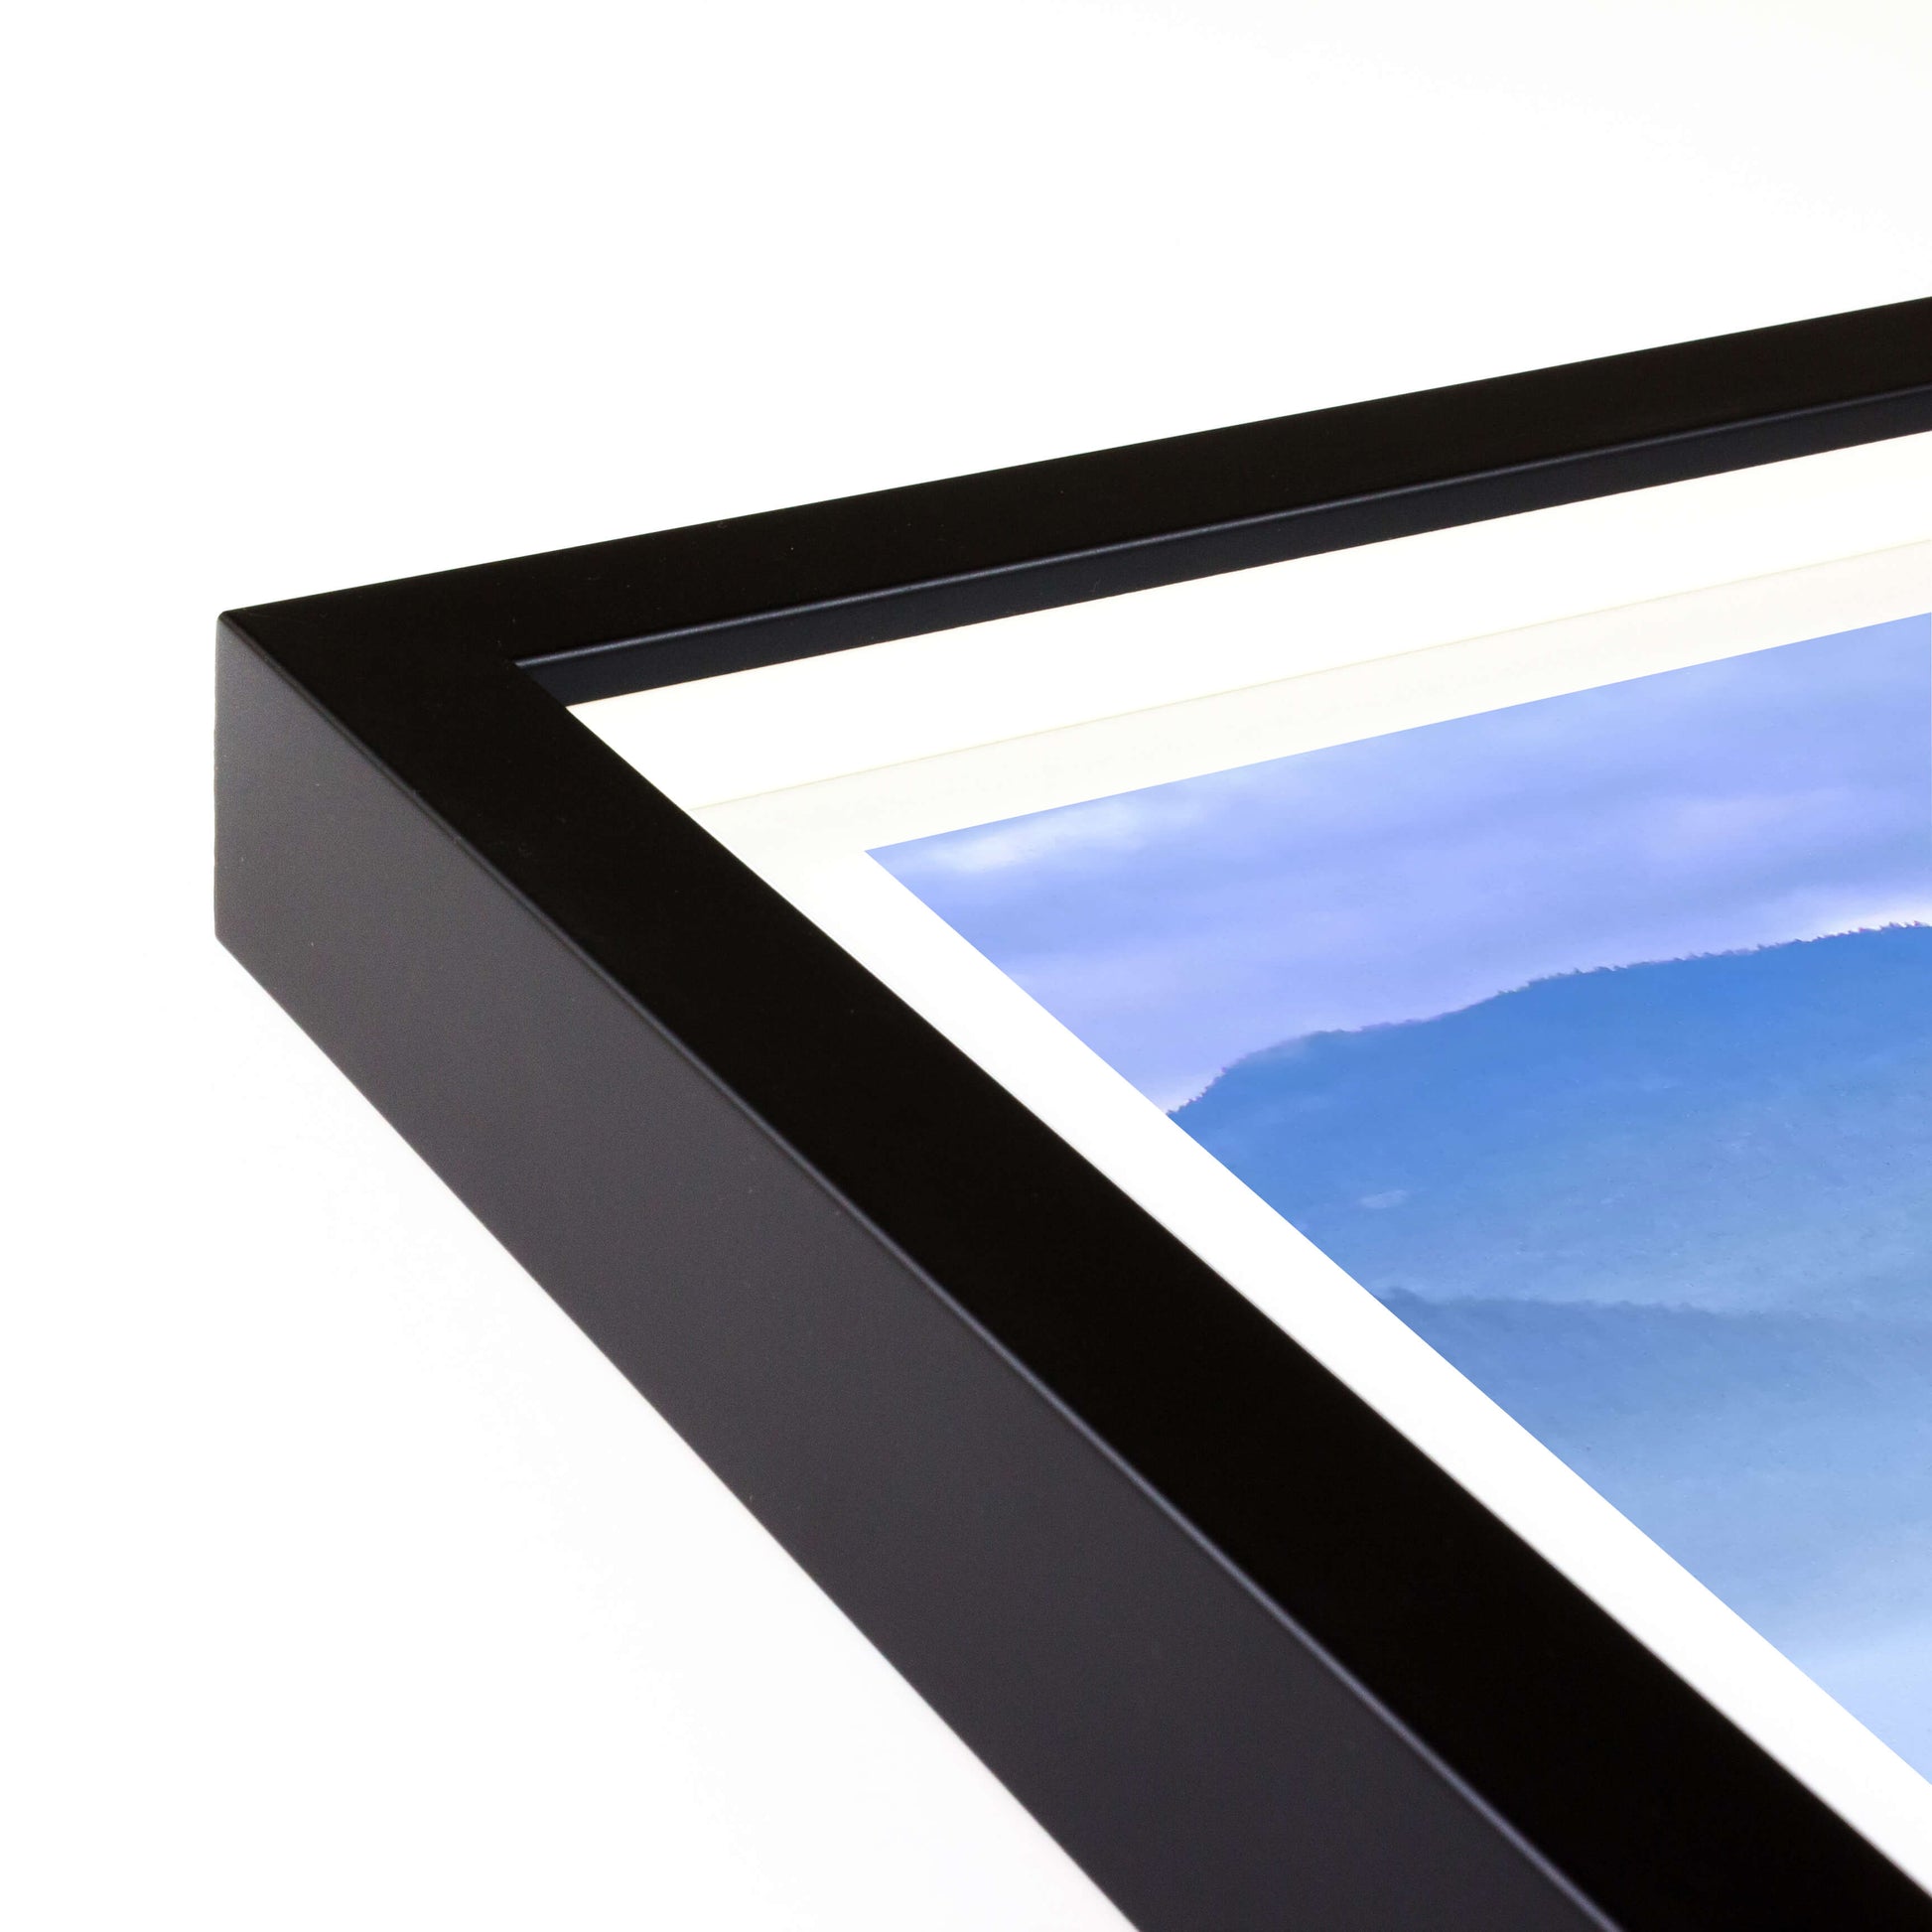
A frame with depth and style!
The Luna Shadow Frame offers an archivally-sound presentation of works of art on paper, panel, and board. Its 1/2" spacer adds inner depth allowing for artworks to be float mounted or framed edge-to-edge.
Designed by Opus president, David van Berckel, this multi-purpose frame may be used for float mounting artwork and framing artwork edge-to-edge. A removable resin spacer sits between the glass and the back mat, adding internal depth to highlight the light and shadows of your artwork while keeping it a safe distance from the glass without the use of a mat.
The shadow format is ideal for presenting works with raised surfaces or edges that you wish to highlight such as works on rag paper, panel or board, mixed media, and vintage photographs.
How to assemble:
- Decide which way the frame will be hung. Remove the two extra D-rings that are at the top and bottom of the frame. Remove EZ clips from the frame back with a flat head screwdriver and set aside.
- Remove Coroplast backing and back mat.
- Insert your artwork using one of the following options:
Option 1: Float Mount
Cut a piece of foamcore or matboard 1" smaller in width and height than the artwork you will be floating. Attach the cut piece to the back mat using acid-free framing tape, then attach the artwork to this raised platform.
Option 2: Edge-to-edge/ Direct MountAttach your artwork directly to the back mat using acid-free framing tape. A mat can be used by placing the window mat either directly on top of your artwork or between the glass and the spacer. Alternatively, artwork that is the same dimension as the frame will appear to be framed edge-to-edge when the spacer is replaced over the edge of the artwork.
Option 3: MattedA mat can be used by placing the window mat directly on top of your artwork by securing the top of your artwork to the mat with linen tape, leaving the sides and bottom loose as to prevent your picture from buckling. A mat can also be placed between the glass and the spacer by attaching your artwork directly to the back mat using acid-free framing tape.
- To reassemble the frame, insert the glass, your selected artwork and component configuration from Options 1 or 2, and the Coroplast backing. Push the hooked end of the EZ clips firmly into the groove on the back edge of the frame to secure all components in place. Hang and enjoy!
SKU:OPULSB1114
