About This Lesson
Students learn rivers are sources of drinking water, habitats for people, plants, insects, fish and animals, important for recreation, manufacturing, agriculture, energy and transportation.
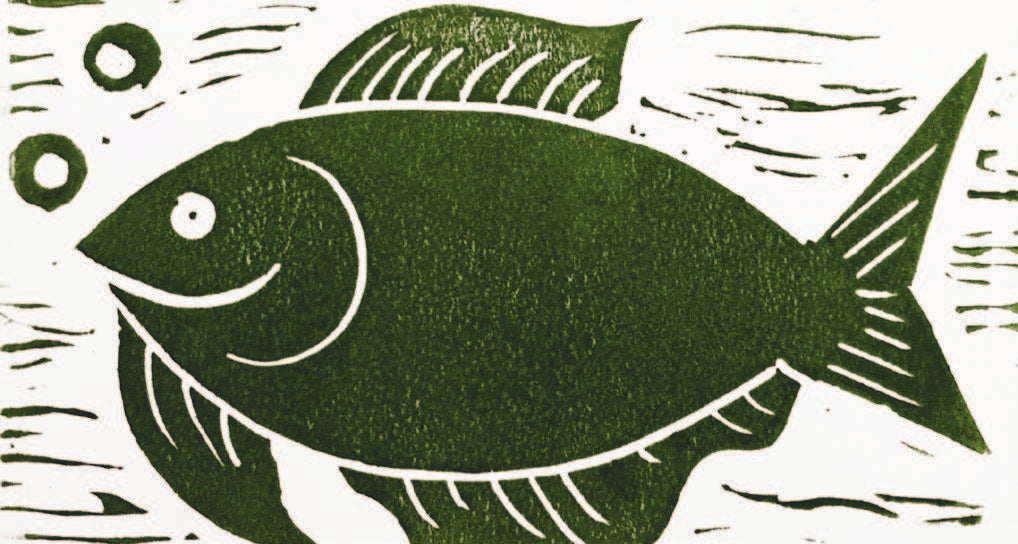
Students will create an edition of (3) relief prints or an optional collaborative print using imagery representing habitat, recreation, commerce and transportation. Students will write an artist statement and exhibit their work.
Guiding Questions for Learning
- How can we create art to represent our knowledge of a local river?
- How can we use printmaking / relief prints to communicate knowledge of our river?
- Where and how can we display our work?
- Why is craftsmanship and caring for our tools important?
Relief Printing Supplies
- Speedball Speedy-Carve™ blocks, 4" x 6"
- Akua Intaglio or Speedball Water-Soluble Block Printing Inks ( Recommend Speedball Water-Soluble Block Printing Ink Retarder if working in dry environment )
- Speedball Linoleum Handles and Cutters
- Speedball Bench Hooks for stabilizing blocks and for inking stations
- Speedball Soft Rubber Brayers ( 1"– 4" sizes recommended )
- Speedball Baren
- Mulberry Paper Sheets, 9" x 12"
- Bienfang® Bristol Board Paper( pre-cut to 4"x 6" size )
- Tracing paper or graphite paper
- Pencils for sketching and transferring image to block
- Optional: 24" x 25 yard Bienfang® #18 Brushmaster Poster Paper Rolls for printing collaborative “river”
- Soapy water for cleanup

Printmaking Process
Session 1
- Students will be divided into small groups representing aspects of a river: clean water and recreation, wildlife and habitat, commerce and industry.
- Students will work in small groups to brainstorm images that reflect aspects of their group.
- Group 1, Wildlife: insects, fish
- Group 2, Recreation: swimming, boating, fishing
- Group 3, Commerce and Industry: manufacturing, energy, farming
- Groups share ideas with the class.
- Students will develop their image on paper sized to their block.
Session 2
- Teacher will demonstrate the process of drawing a negative/positive image on 4" x 6" paper, reminding students that the image will print in reverse.
- Students will sketch a drawing of their chosen image to fill the size of their paper.
- Students will share their drawing with their group and receive feedback.
- Students will refine their drawing.
Session 3
- Students will identify the negative and positive areas of their relief print by using a dark marker.
- Students will transfer their drawing to the block using tracing paper or by covering the backside of the drawing with graphite and trace the image.
Session 4
- Teacher will demonstrate the proper use of the linoleum carving tools, how to change cutters, and store them inside the handle, emphasizing safety (e.g. always cut away from yourself, etc.). Speedball Bench Hook is recommended for use when carving.
- Students will carve their block.
- Students will clean area of carvings and return cutters to handle.


Session 5
- Teacher will demonstrate the technique for rolling out ink and application to the relief printing block.
- Teacher will demonstrate printing process by using a baren to transfer the ink. (If optional paper river will be printed, teacher will demonstrate how to print block using it as a stamp.)
- Students will select ink colors and roll out ink on the bench hook.
- Students will ink their block to create a small edition of (3) relief prints.
- Students will clean brayers, blocks and inking stations.
Session 6
- Students collaborate on the creation of a class artist statement.
- Students brainstorm on venues for exhibiting their prints.
- Students display their relief prints.
Additional Resources
Teaching Resources
- Local watershed or water treatment facility guest
- Regional/Local river groups guest
- Regional/Local tourism agency guest
To learn more about Block / Relief Printing with Speedball products, visit the SpeedballArt YouTube Channel.
Vocabulary
- Printmaking
- Relief Print
- Brayer
- Baren
- Negative
- Positive
- Multiples
- Craftsmanship
- Collaboration
- Exhibition
National Visual Art Standards
For Elementary School
- VACr1.1.4a-6a
- VACr1.2.4a-6a
- VACr2.1.4a-6a
- VACr2.2.4a-6a
- VACr2.3.4a-6a
- VACr3.1.4a-6a
- VAPr5.1.4a-6a
- VARe7.1.4a-6a
- VARE7.2.4a-6a
- VACn10.1.4a-6a
- VACn11.1.4a-6a
This relief printing lesson was supplied by Speedball.

