Our friends at Jacquard recently released 6 exciting new Procion MX dyes that they specifically formulated for Ice Dyeing.
Follow along this article as we go through the steps of ice dyeing, and try it for yourself. Ice dyeing is a great afternoon activity to plan with friends and family to create for the fun of it.
Get creative together and make unpredictably colourful shirts and accessories!


What is Ice Dyeing?
Ice dyeing is an easy and rewarding dyeing experience, and the process is simple! Think tie dyeing, but harnessing the power of ice or snow.
Each Jacquard Ice Dye is a curated mix of different colours. The ice causes the component colours of the blended dye to "split" and separate, producing an incredible crystalline pattern of many distinct colours, almost like a kaleidoscope.
Imagine the folded fabric as a mountain range: the peaks will dye a different color than the valleys, and you'll see a beautiful stratification of different colours in between.
Ice dyeing doesn't require boiling water, bleach or other difficult setup.
The process is fun and safe for supervised children to participate.
Personalize garments and make lasting memories!
Materials Needed For This Activity
- Jacquard Procion MX Ice Dyes
- Jacquard Soda Ash Dye Fixer
- Natural fibre fabrics for dyeing*
- Crushed ice or snow
- Large bin or tub
- Wire cooling rack
- Rubber or nitrile gloves
- Face masks and safety glasses
- Access to water and a clothes washer / dryer
- Spoons to scoop dye powder
*Jacquard recommends fabrics such as, but not limited to: cotton, linen, canvas, hemp, jute, ramie, sisal, paper, rayon.


Pre-Treat Your Fabric
Before we start dyeing your clothes, the fabric needs to be treated with Soda Ash to ensure the dyes properly penetrate the fibres.
It is also helpful to pre-clean your garments – a normal wash through your laundry machine will work.
Wearing gloves, thoroughly dissolve 1 cup of soda ash per gallon of water. You may need additional soda ash and water if you plan to dye many pieces at the same time.
Add your clothes to the soda ash solution and soak all of your clothes for at least 20 minutes. Then, wring them out by hand. (keep those gloves on!) The garments do not need to dry out, just remove the excess water.
Set Up Your Ice Dyeing Station
Next, set up your ice dyeing station.
Place your drying rack into your bin to suspend the garments from the bottom. It's necessary to prevent the garments from touching the melted ice water to preserve the full ice dye effect.
Scrunch up your garments and place them on the rack. Small folds will make more dramatic colour shifts and larger folds will make smoother gradients. You could definitely tie your fabrics if you want more control over the ice dye colour patterns, but we found the organic scrunching looked great.
Crush your ice! Large ice cubes are harder to cover your garments, so we tried to break up our ice as much as we could. If you have a crushed ice maker, this might be a good time to put it to use. The parts of your fabric that aren't covered with ice may not get dyed, so try to cover as much as you can.


Start Ice Dyeing
Cover your garments in crushed ice, and don your mask and gloves. The dye particles are very fine, so masks, glasses, and goggles will prevent the dye powder from going anywhere it shouldn't be. Now you're ready to start ice dyeing!
Use a spoon or other tool to scoop and sprinkle the dye powder onto the ice. You may want to go a little heavy handed here – you can check our photos to guess how much dye powder you want to use. It's up to you how much or how little ice dye you cover your garments in.
Jacquard Procion MX Ice Dyes are pre-mixed, so they will naturally separate into awesome colour patterns, but you could try mixing different jars to make your own crazy effects. We stuck to the pre-made mixes to show you the combinations.
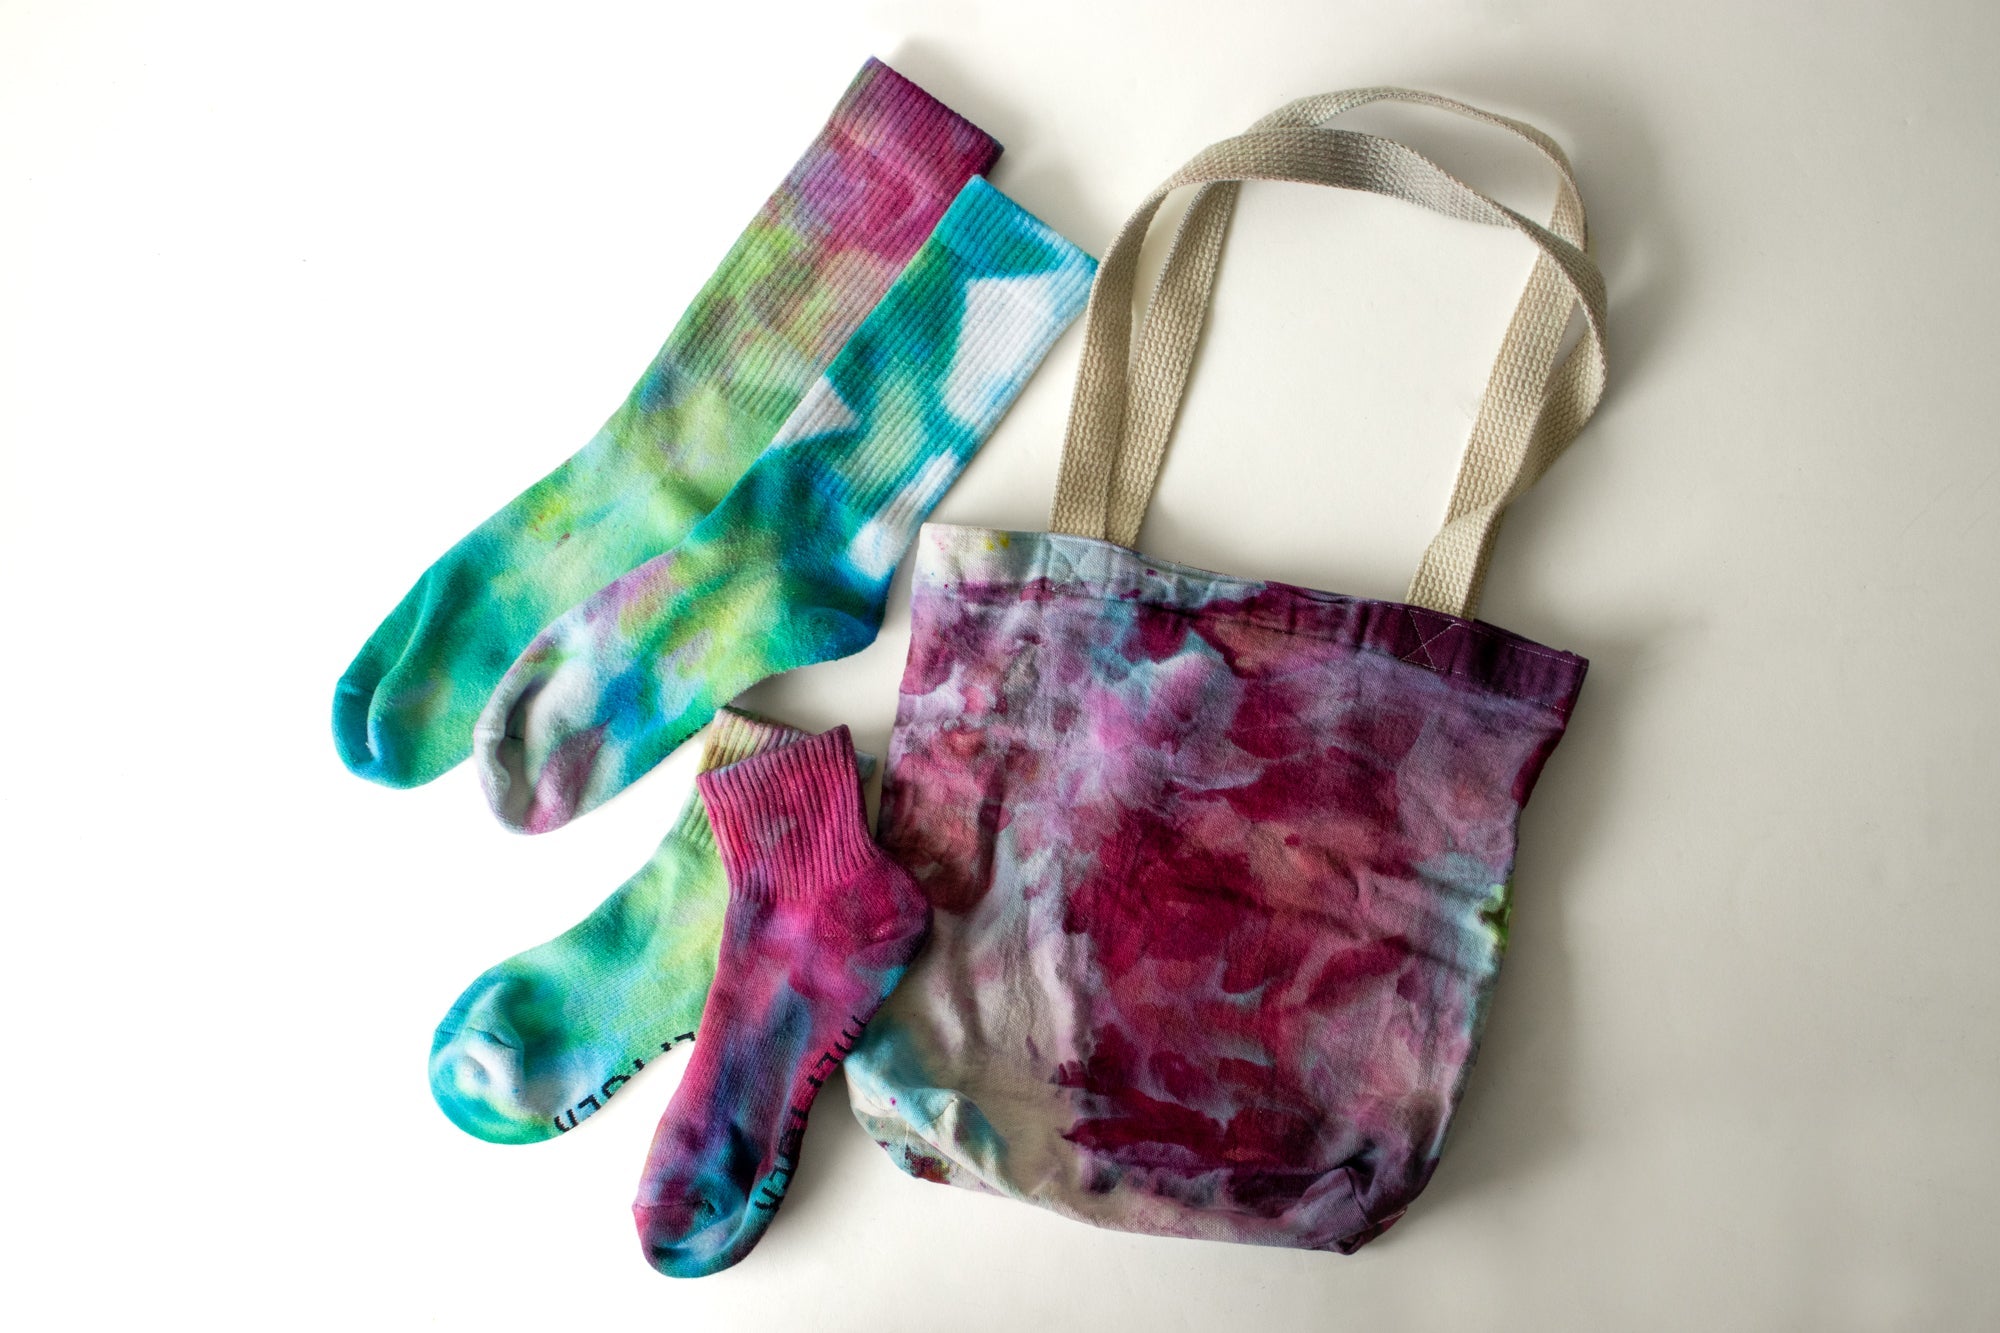
In our ice dyeing photos, you'll see the colours "302 Nebula", "303 Rainforest", and "304 Meteor."


Next Step: Watch the ice melt (optional)
While this step is completely optional, the dye and ice sure looks fascinating.
You'll need to allow the ice to completely melt, so place the bin somewhere safe and warm to sit undisturbed. Jacquard suggests to allow your garments to sit overnight – trust us, your patience will be rewarded!
P.S.: Remember, the clothes need to sit above the melt water for the ice dye effect to look its best!


Your Garments Have Been Ice Dyed 😊
Come back to your garments after the ice has melted.
You'll need to wash your ice dyed clothes before wearing them. Washing and drying will set the colours, as well as make your clothes safe and comfortable to wear.
- First, give them a rinse in cold water in a sink or tub.
- Then, in a laundry machine, wash them on the hot cycle with regular laundry detergent.
- Finally, run them through the clothes dryer to set the colours.
Congratulations! Enjoy your newly ice dyed garments. Compare all of your beautiful colours and show them to your family and friends. Check out our results below.


Explore Jacquard Procion MX Dyes
Jacquard Products
For over 35 years, Jacquard Products has been the leading manufacturer of artist materials for fabric. Family owned and operated, we are committed to offering top-quality materials at great value to commercial studios, professional artists & craftspeople, home crafters, do-it-yourselfers, kids & hobbyists.